The virtual machines are easy to setup using the VirtualBox software. I didn't use Linux's KVM because the host hardware doesn't support CPU virtualization, but I do have a similar setup with KVM on a computer that does. I have used this setup with VMWare and Virtual PC as well. The router gets four interfaces each independent of the other while interface eth0 gets bridged to the outside world. The remaining interfaces are placed on internal networks named for their purpose.
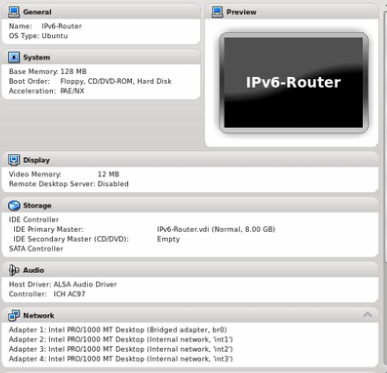
Virtual IPv6 Router With 3 Tiers
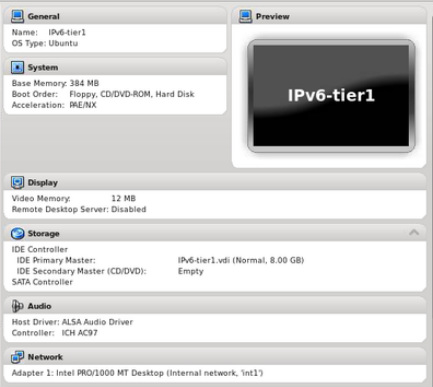
IPv6 Tier 1 Reverse Proxy On Internal Interface int1
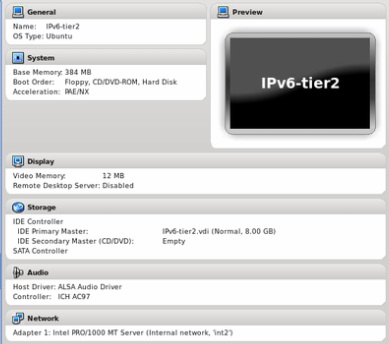
IPv6 Tier 2 Application Server On Internal Interface int2
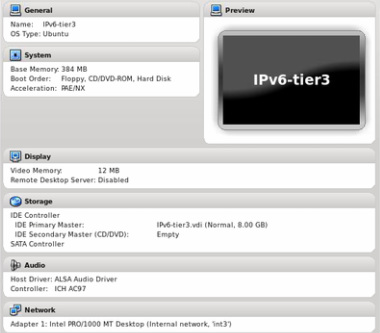
IPv6 Tier 3 MySQL Server On Internal Interface int3
| Previous: IPv6 DNS |
 RSS Feed
